When creating the 2D drawing, you basically proceed in the same way as when you work with paper and pen, ruler and compass. You choose what you want to draw, such as rectangle, line, circle. The program asks you to define the start and end points and then draws the object. Entries are confirmed with “Enter”, “Esc” aborts the command. It is helpful to create the first few elements of the drawing by entering points on the command line to get the correct dimensions and geometry. If you then look at the elements on the screen, you also have an orientation about the proportions.
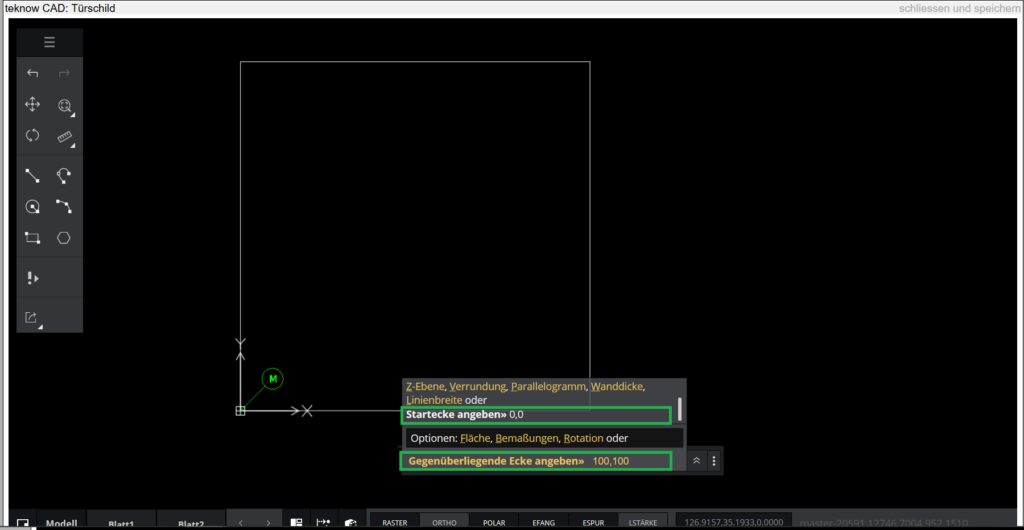
Example: Click the “Rectangle” icon in the toolbar. The starting point is requested in the command line: 0,0. The coordinates in the x and y directions are separated by a comma when they are entered. Decimal separator is a point. After confirming the starting point, you will be asked to enter the opposite corner, e.g. 100,100. A square with a side length of 100 mm appears on the drawing area:

You don’t have to start your drawing in the coordinate origin, any other point works as well. Experience has shown that the specification of further points is easier if you can refer to the origin.
Points can be entered in absolute coordinates (example: 50,100) or in relative coordinates by writing an @ in front of the values (example: @ 50,100). If you enter relative coordinates as a starting value, e.g. when drawing a line, the program refers to the last point previously specified. In the example, it draws a line from the last specified point that runs 50 mm in the x direction and 100 mm in the y direction.
Alternatively, positions in the drawing area can be clicked with the left mouse button to define points. However, it is then difficult to achieve the exact dimensions without further aids, such as the snap functions described below.
